Teleoperation
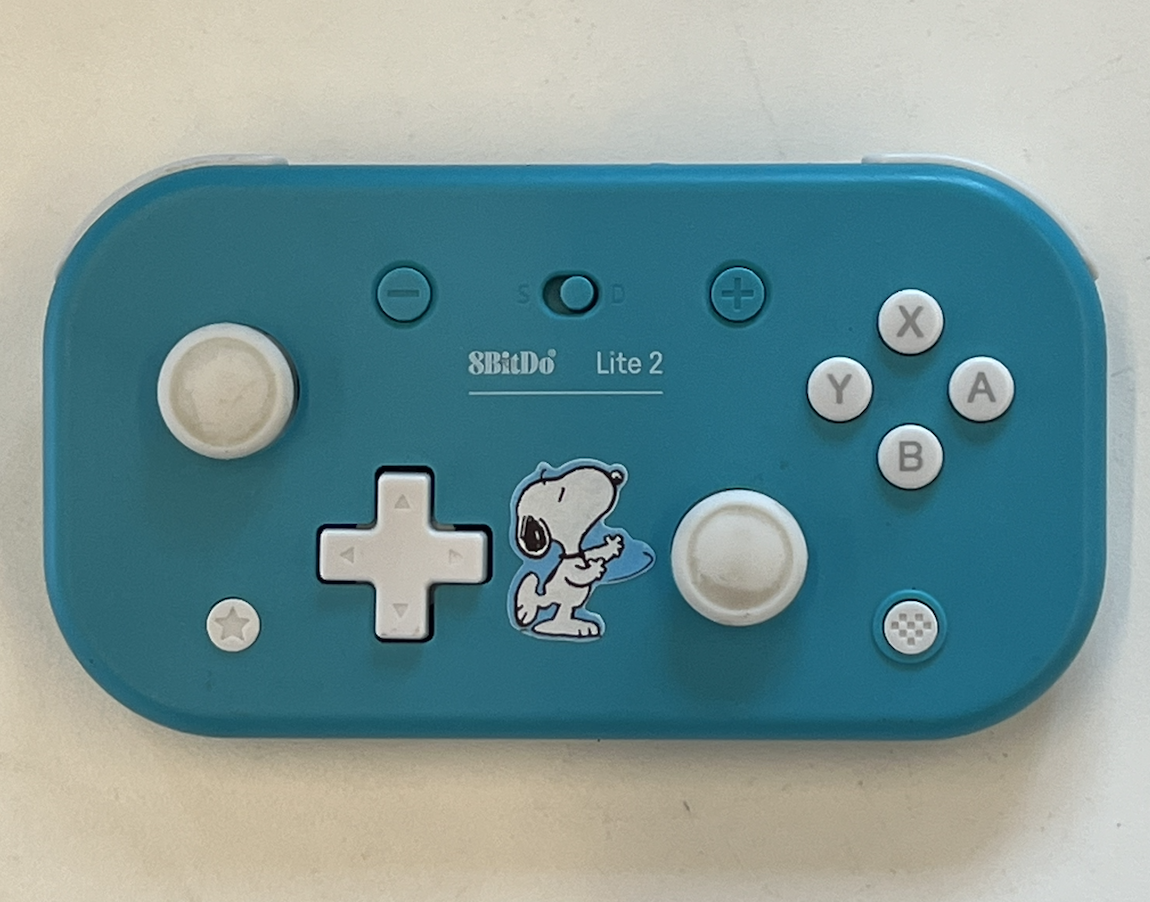
The Mobile Hoverboard Robot Base is teleoperated using an 8BitDo Lite 2 Bluetooth gamepad connected to the external Raspberry Pi. This enables the Wizard of Oz operation style used in HRI experiments.
Part A: Connect the Controller via Bluetooth
- SSH into the controller RPi
- Install Bluetooth packages if not already present:
-
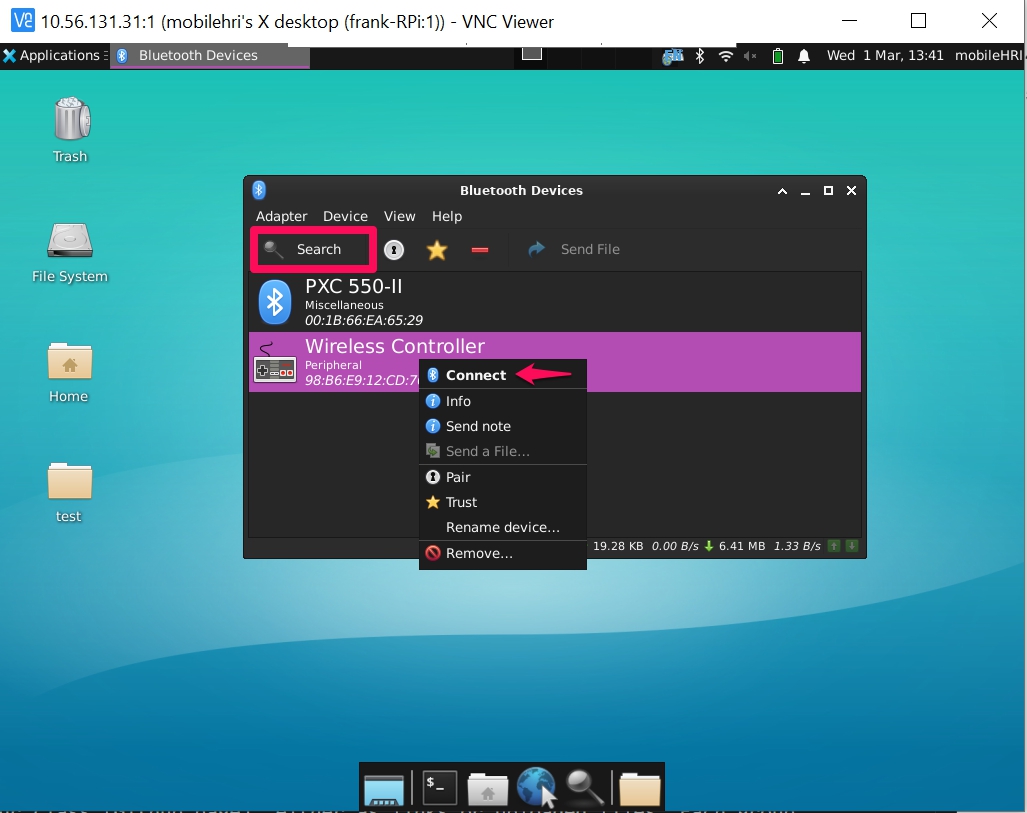
Open the Bluetooth manager (via VNC Viewer for GUI, or use
bluetoothctl):Then inside bluetoothctl: Boot the 8BitDo into wireless pairing mode (hold the pairing button). When it appears in the scan list, pair and connect:Open Blueman from the desktop, search for the controller, and connect.
-
The controller LED turns blue when connected.
Connect by MAC Address
Once you've paired the controller once, you can reconnect directly:
The MAC address of your 8BitDo controller can be found during the scan on step — it will appear as 8BitDo Lite 2 in the device list.
Part B: Read Joystick Messages
Verify the controller is publishing to ROS 2:
Expected output:
header:
  frame_id: joy
axes:
- -0.0   # Left stick X
- -0.0   # Left stick Y
- 1.0    # Left trigger
- -0.0   # Right stick X
- -0.0   # Right stick Y
- 1.0    # Right trigger
- 0.0    # D-pad X
- 0.0    # D-pad Y
buttons:
- 0
- 0
- 0
...
All axes are continuous floats (−1.0 to 1.0). All buttons are binary integers (0 or 1).
Part C: Haptic Feedback (Rumble)
Test that the rumble motor works — useful for signaling states during experiments:
ros2 topic pub -r 10 /joy/set_feedback sensor_msgs/msg/JoyFeedback \
  "{type: 1, id: 0, intensity: 0.9}"
JoyFeedback message types:
| Value | Type |
|---|---|
0 |
LED |
1 |
Rumble |
2 |
Buzzer |
Part D: Button Mapping
The key mapping node (keymapping_node.py) translates joystick axes to /cmd_vel (linear + angular velocity).
Safety button
L1 must be held to enable driving. This prevents unintentional movement.
Launch the mapping:
cd ~/mobilehri_ws
colcon build && source install/setup.bash
ros2 launch joy_teleop_keymapping mapping_launch.py
Monitor the output:
Feel free to customize the button mapping in keymapping_node.py — the 8BitDo has many buttons, triggers, and axes to work with.
Part E: Drive with the Hoverboard
Once both the mapping node and the mobile base controller are running (see Running the Robot):
Hold L1 and use the left stick to drive. Place the trash bin on top and start your HRI experiment!
Safety
Warning
- Always hold L1 as a deadman switch — releasing it stops the robot.
- Do not leave the hoverboard battery plugged into the ODrive when the robot is unattended.
- The hoverboard chassis is conductive — keep it clear of loose electronics.