Frame Assembly
This guide covers setting up the dolly base and attaching the laser-cut circular mounting plate.
Parts Required
| Qty | Part |
|---|---|
| 1 | Trash Can Dolly with Wheels |
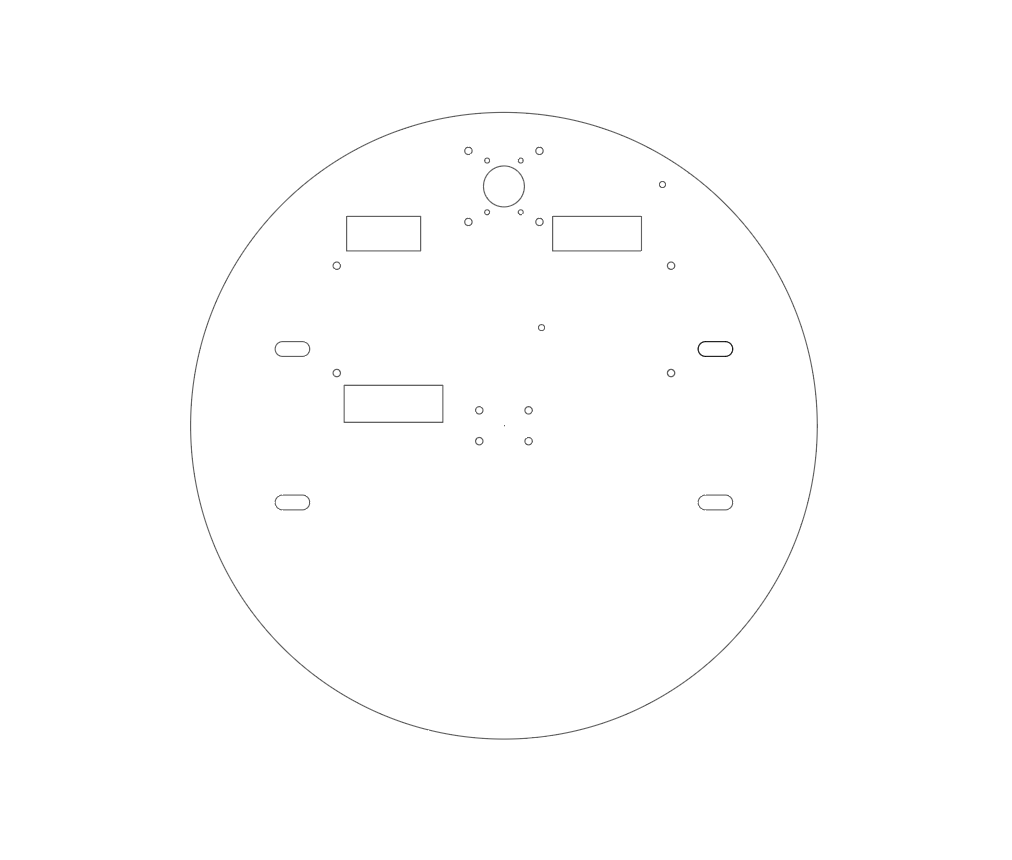
| 1 | Circular Mounting Plate (laser cut) |
| ~10 | Screws |
| ~8 | Nuts |
| 2 | Screwdrivers |
Laser Cut Files
Download the templates before starting:
trashbot_guidlines_all.ai— full drilling templatetrashbot_guidlines_inner.ai— inner circular mounting plate

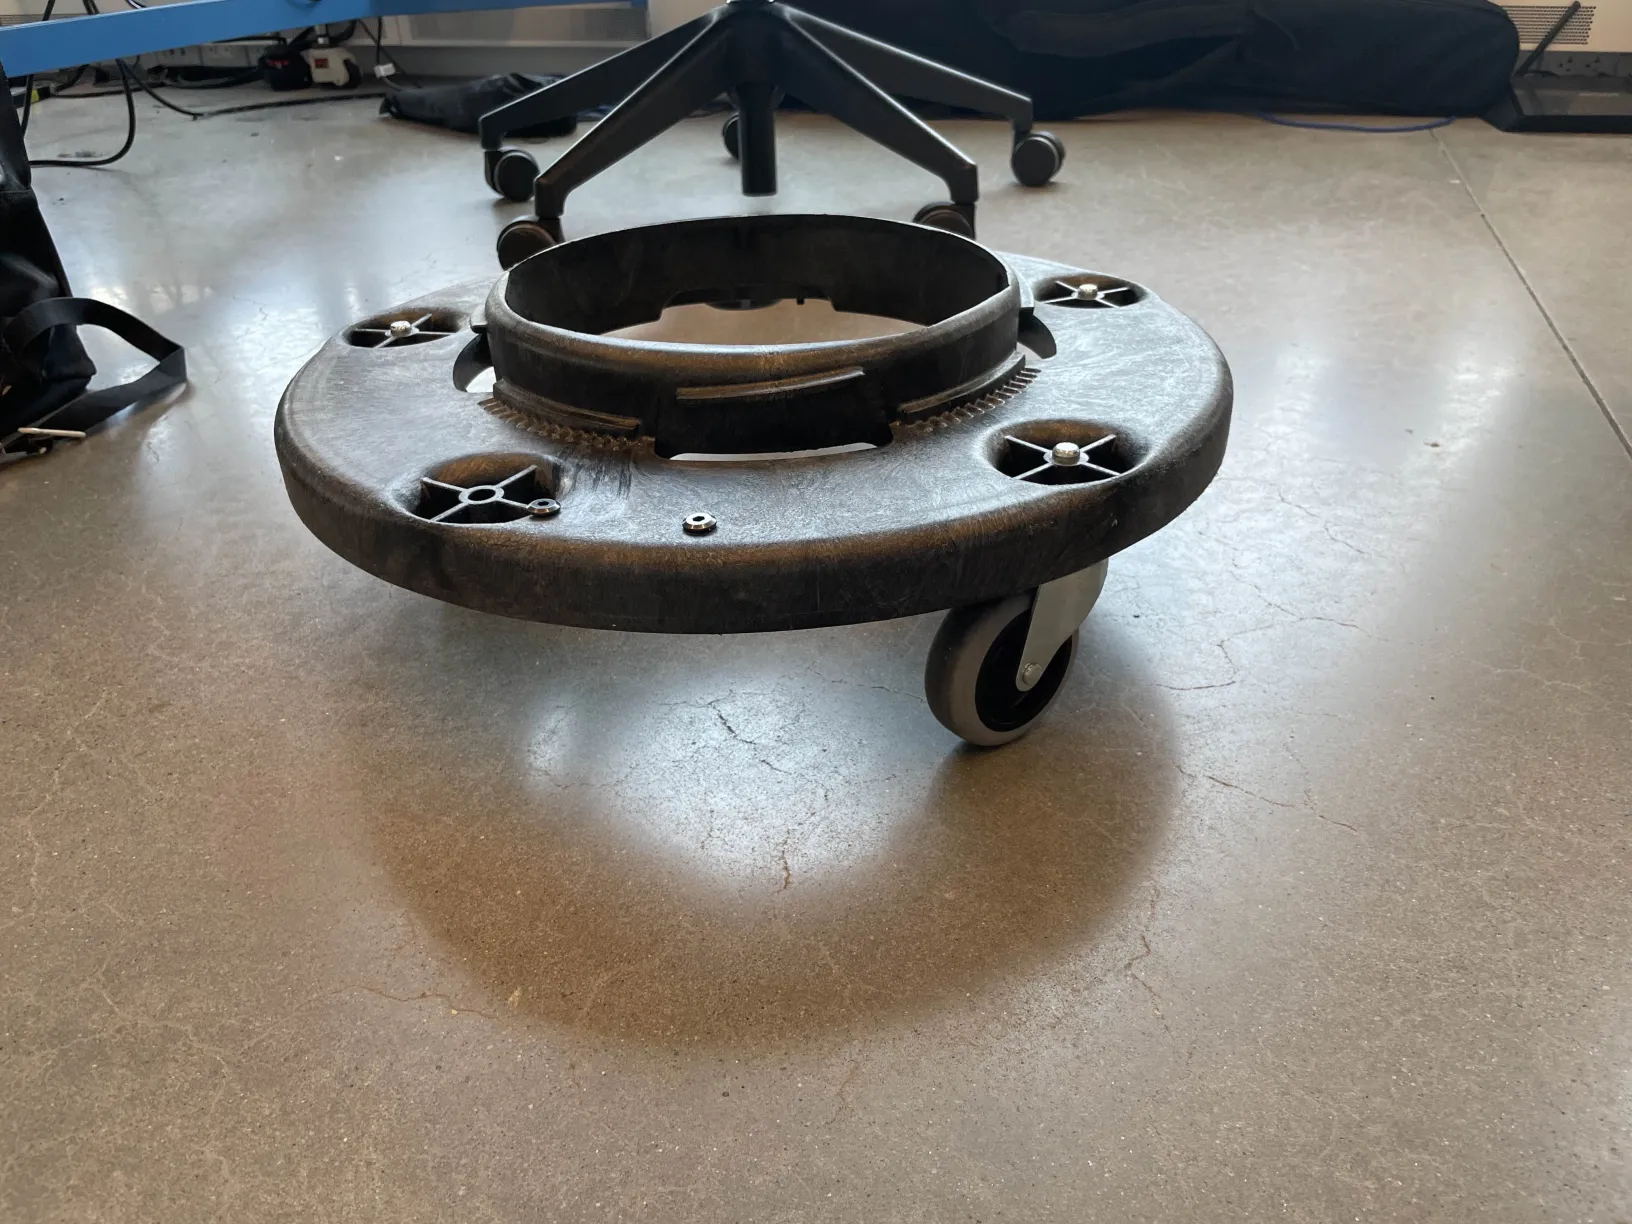
Part A: Setting Up the Dolly
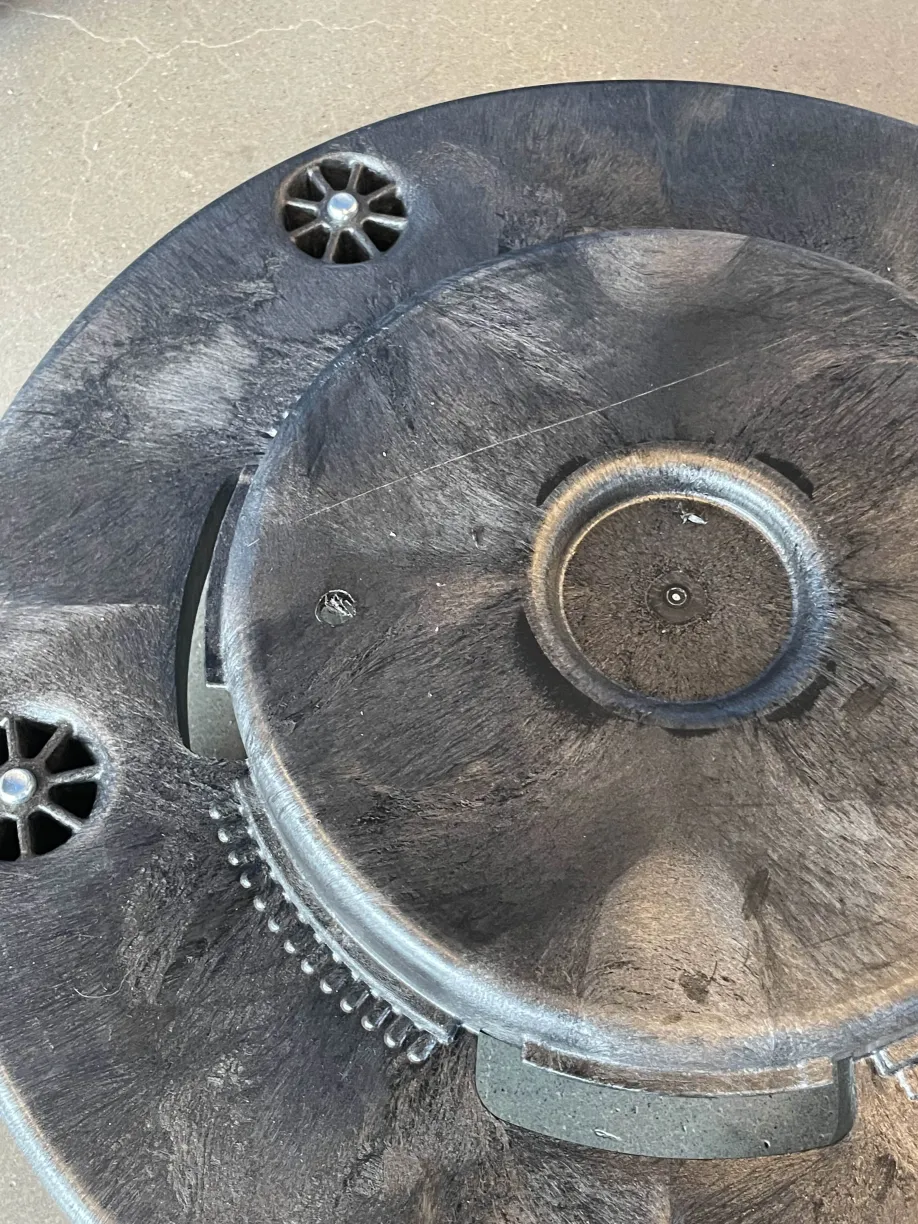
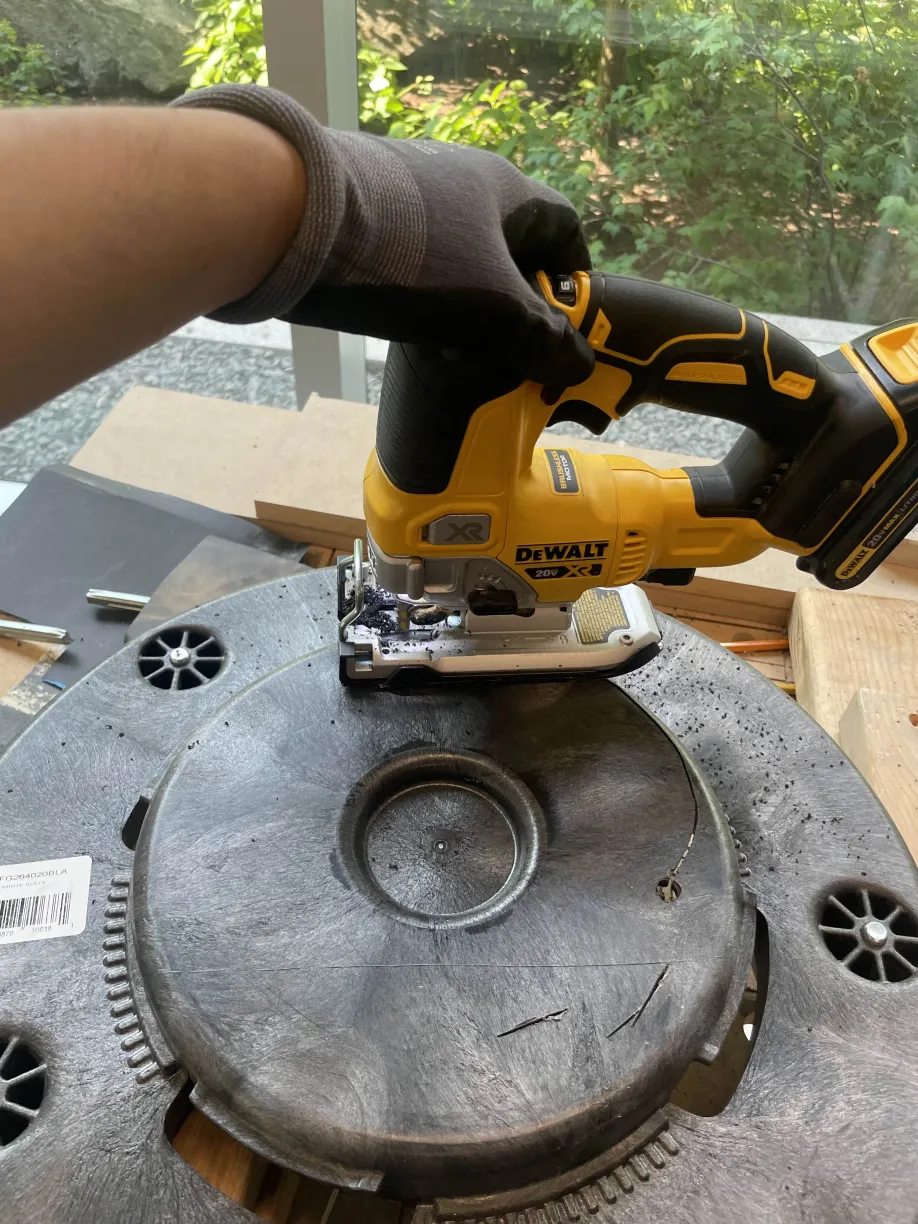
Step 1: Remove the circular top of the dolly
Step 2: Laser-cut the drilling template and the circular plate
Cut both the drilling template and the mounting plate using the .ai files above.
Step 3: Align and drill outer holes
Place the drilling template over the dolly and align it. Mark the 4 pre-existing screw hole locations.
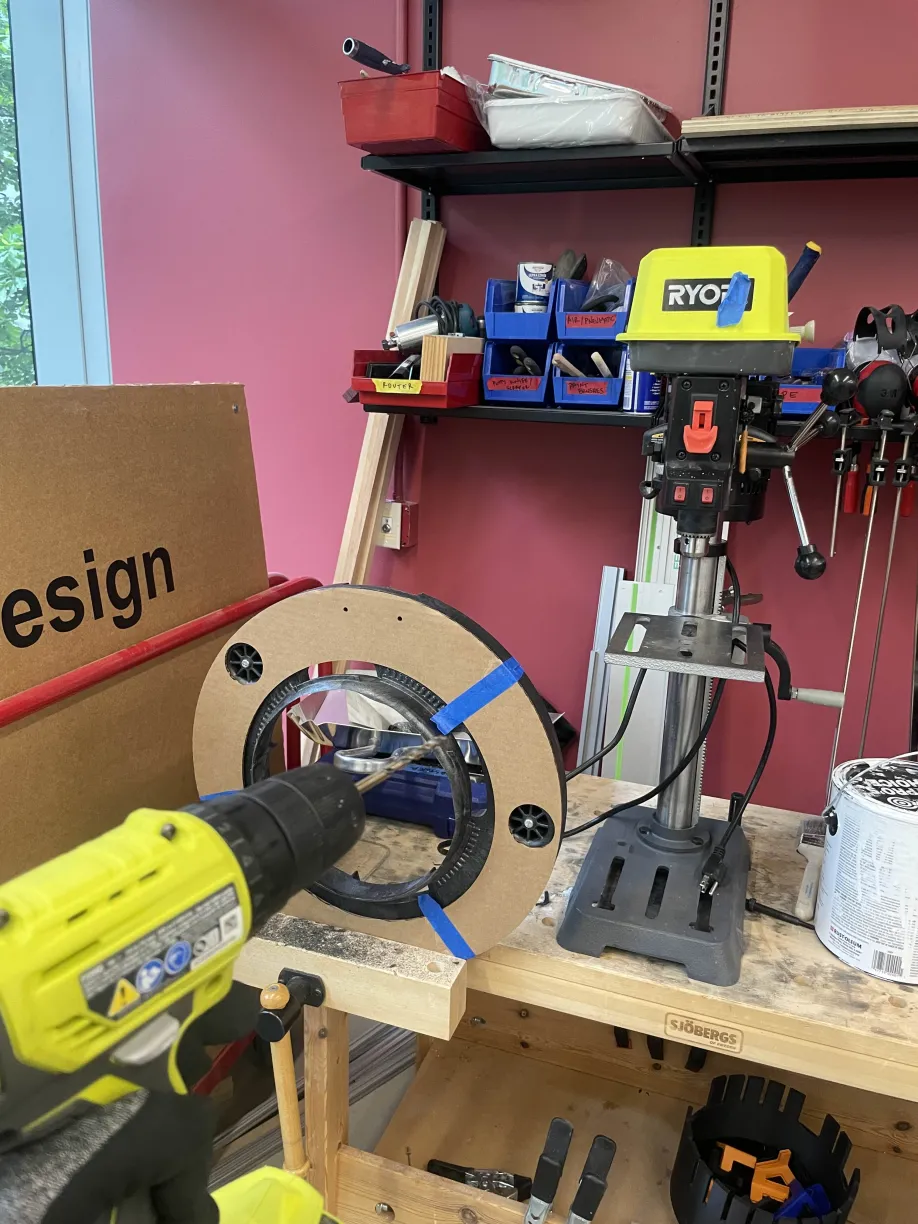
Step 4: Secure the dolly
Drill 4 matching holes and secure the dolly using 4 screws and 4 nuts.
Part B: Attaching the Circular Mounting Plate
Step 5: Align the circular plate
Align the laser-cut circular plate with the 4 inner mounting holes on the dolly.
Step 6: Attach with screws and nuts
Secure using 4 screws and 4 nuts through the inner mounting holes.