Electronics & Wiring
This guide covers mounting the ODrive and all components onto the robot frame after ODrive Calibration is complete.
Safety
Unplug the battery before touching any electronics. The hoverboard metal chassis is conductive — never place electronics directly on it. Cover all dangling wires with electrical tape.
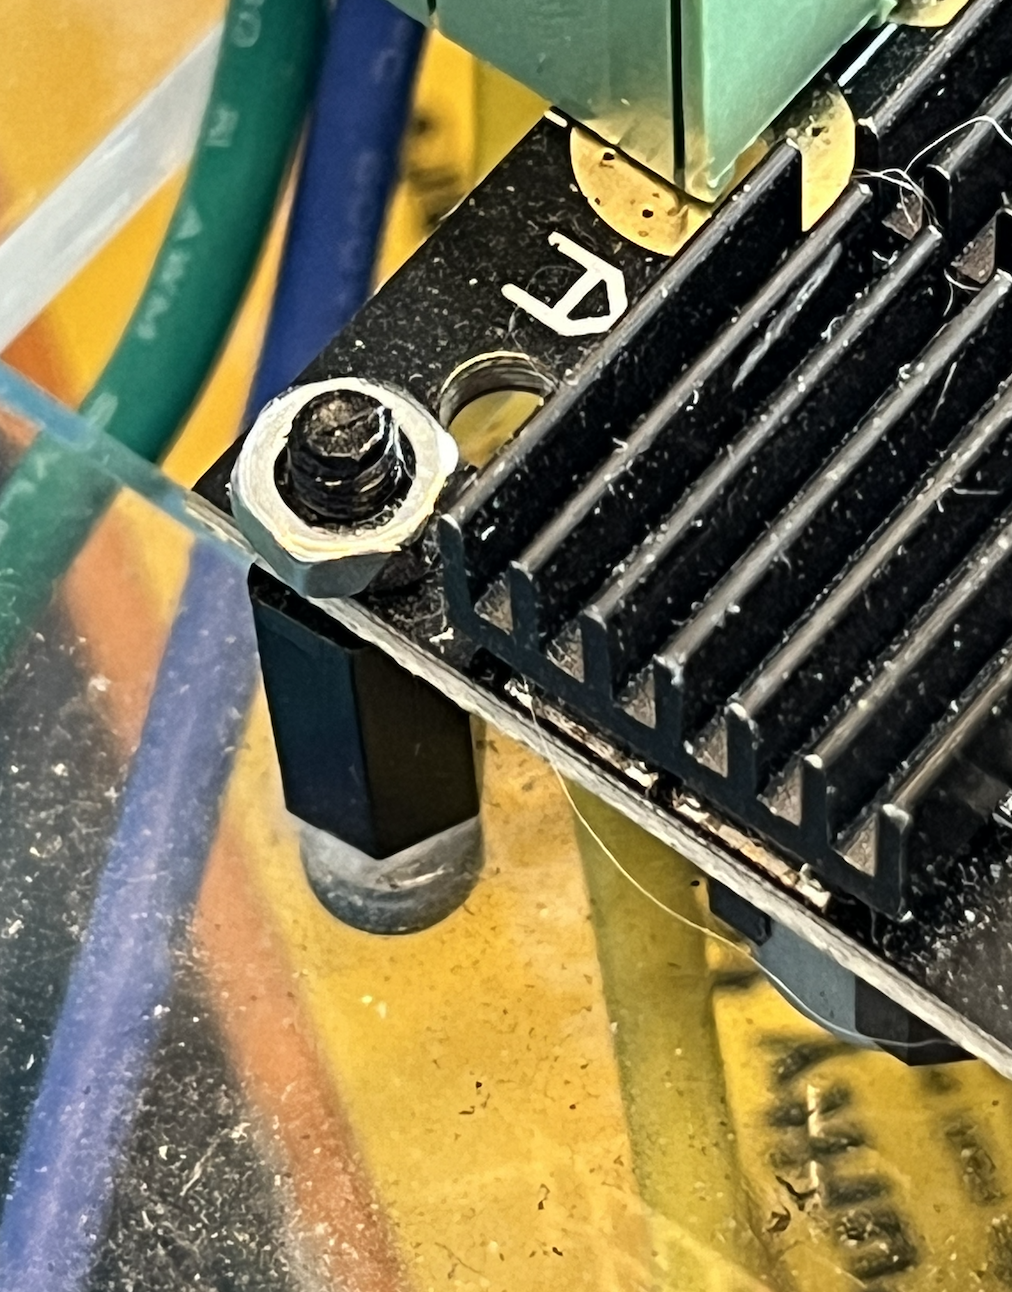
Step 1: Mount ODrive to Circular Plate
Secure the ODrive to the circular mounting plate using screws.
Step 2: Connect Both Wheels
With both wheels calibrated, connect all wiring to the mounted ODrive:
- Screw the phase wires (U, V, W) from each hub motor into the ODrive terminal blocks — M0 for the left wheel, M1 for the right wheel
- Plug the hall sensor JST connectors into the filtering PCBs on each axis port
Step 3: Connect ODrive to Raspberry Pi
Connect the micro-USB cable from the ODrive to the base Raspberry Pi.
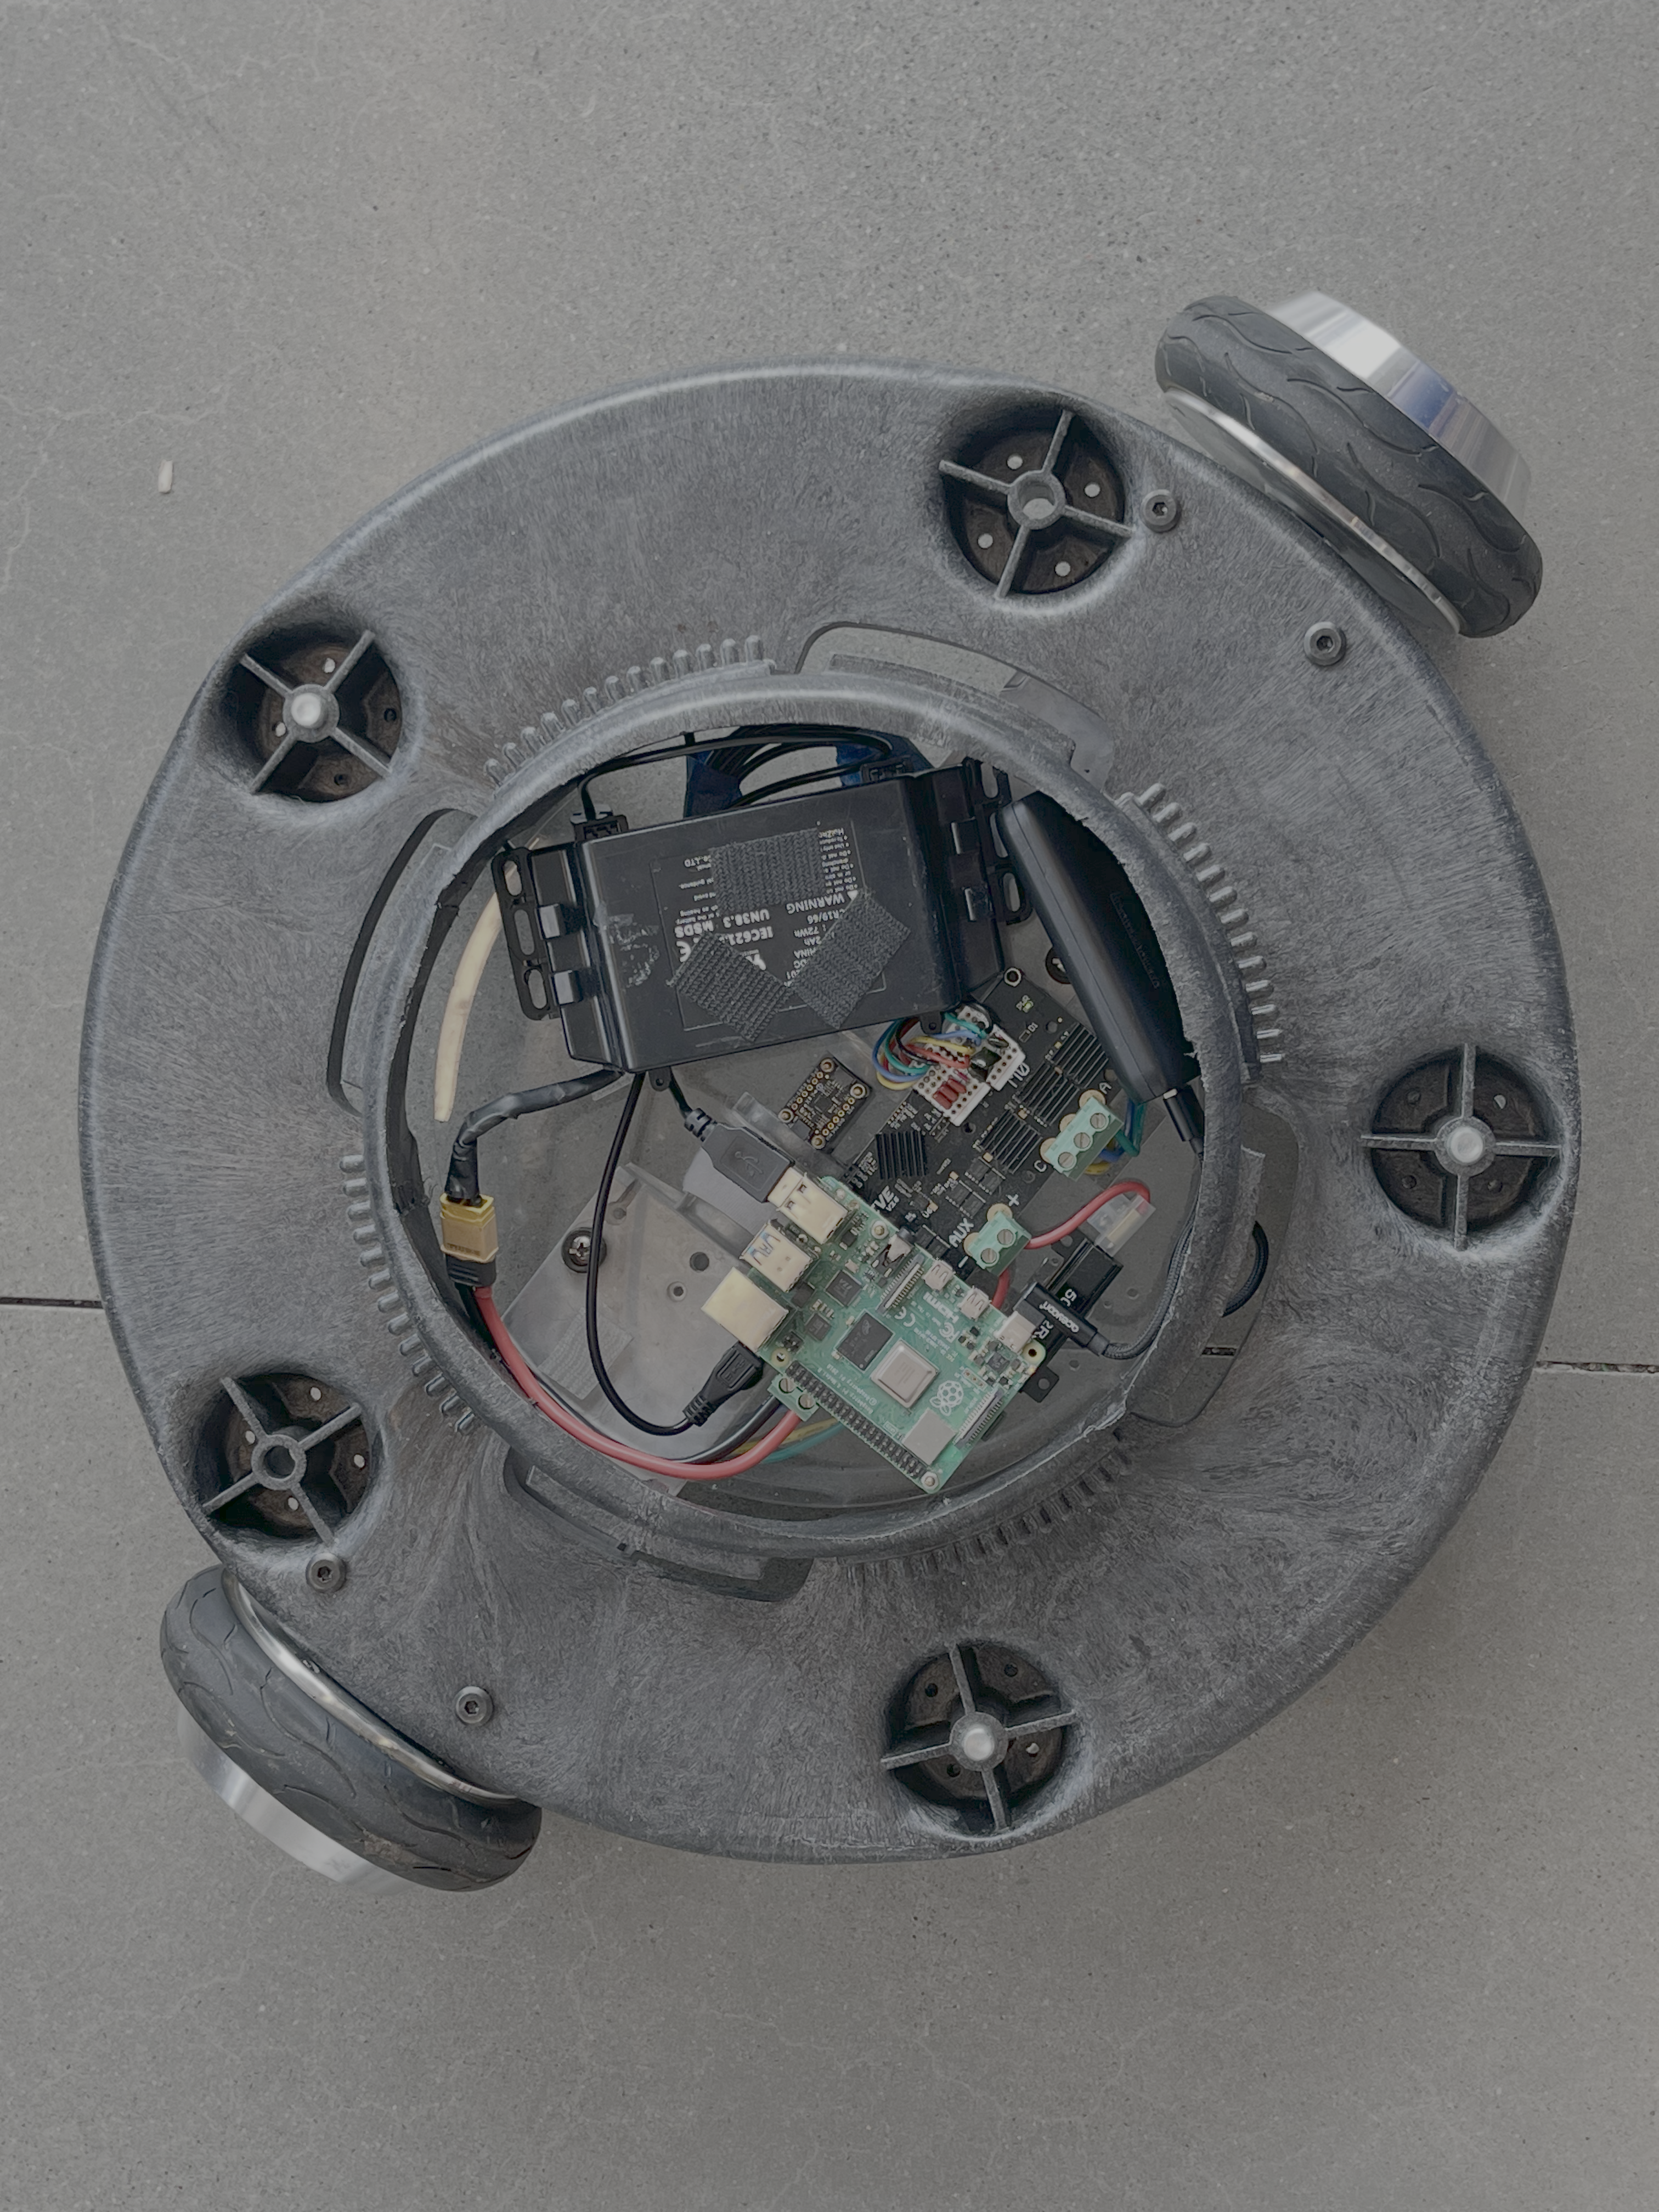
Step 4: Mount the Circular Plate
Mount the fully wired circular plate assembly onto the dolly frame.
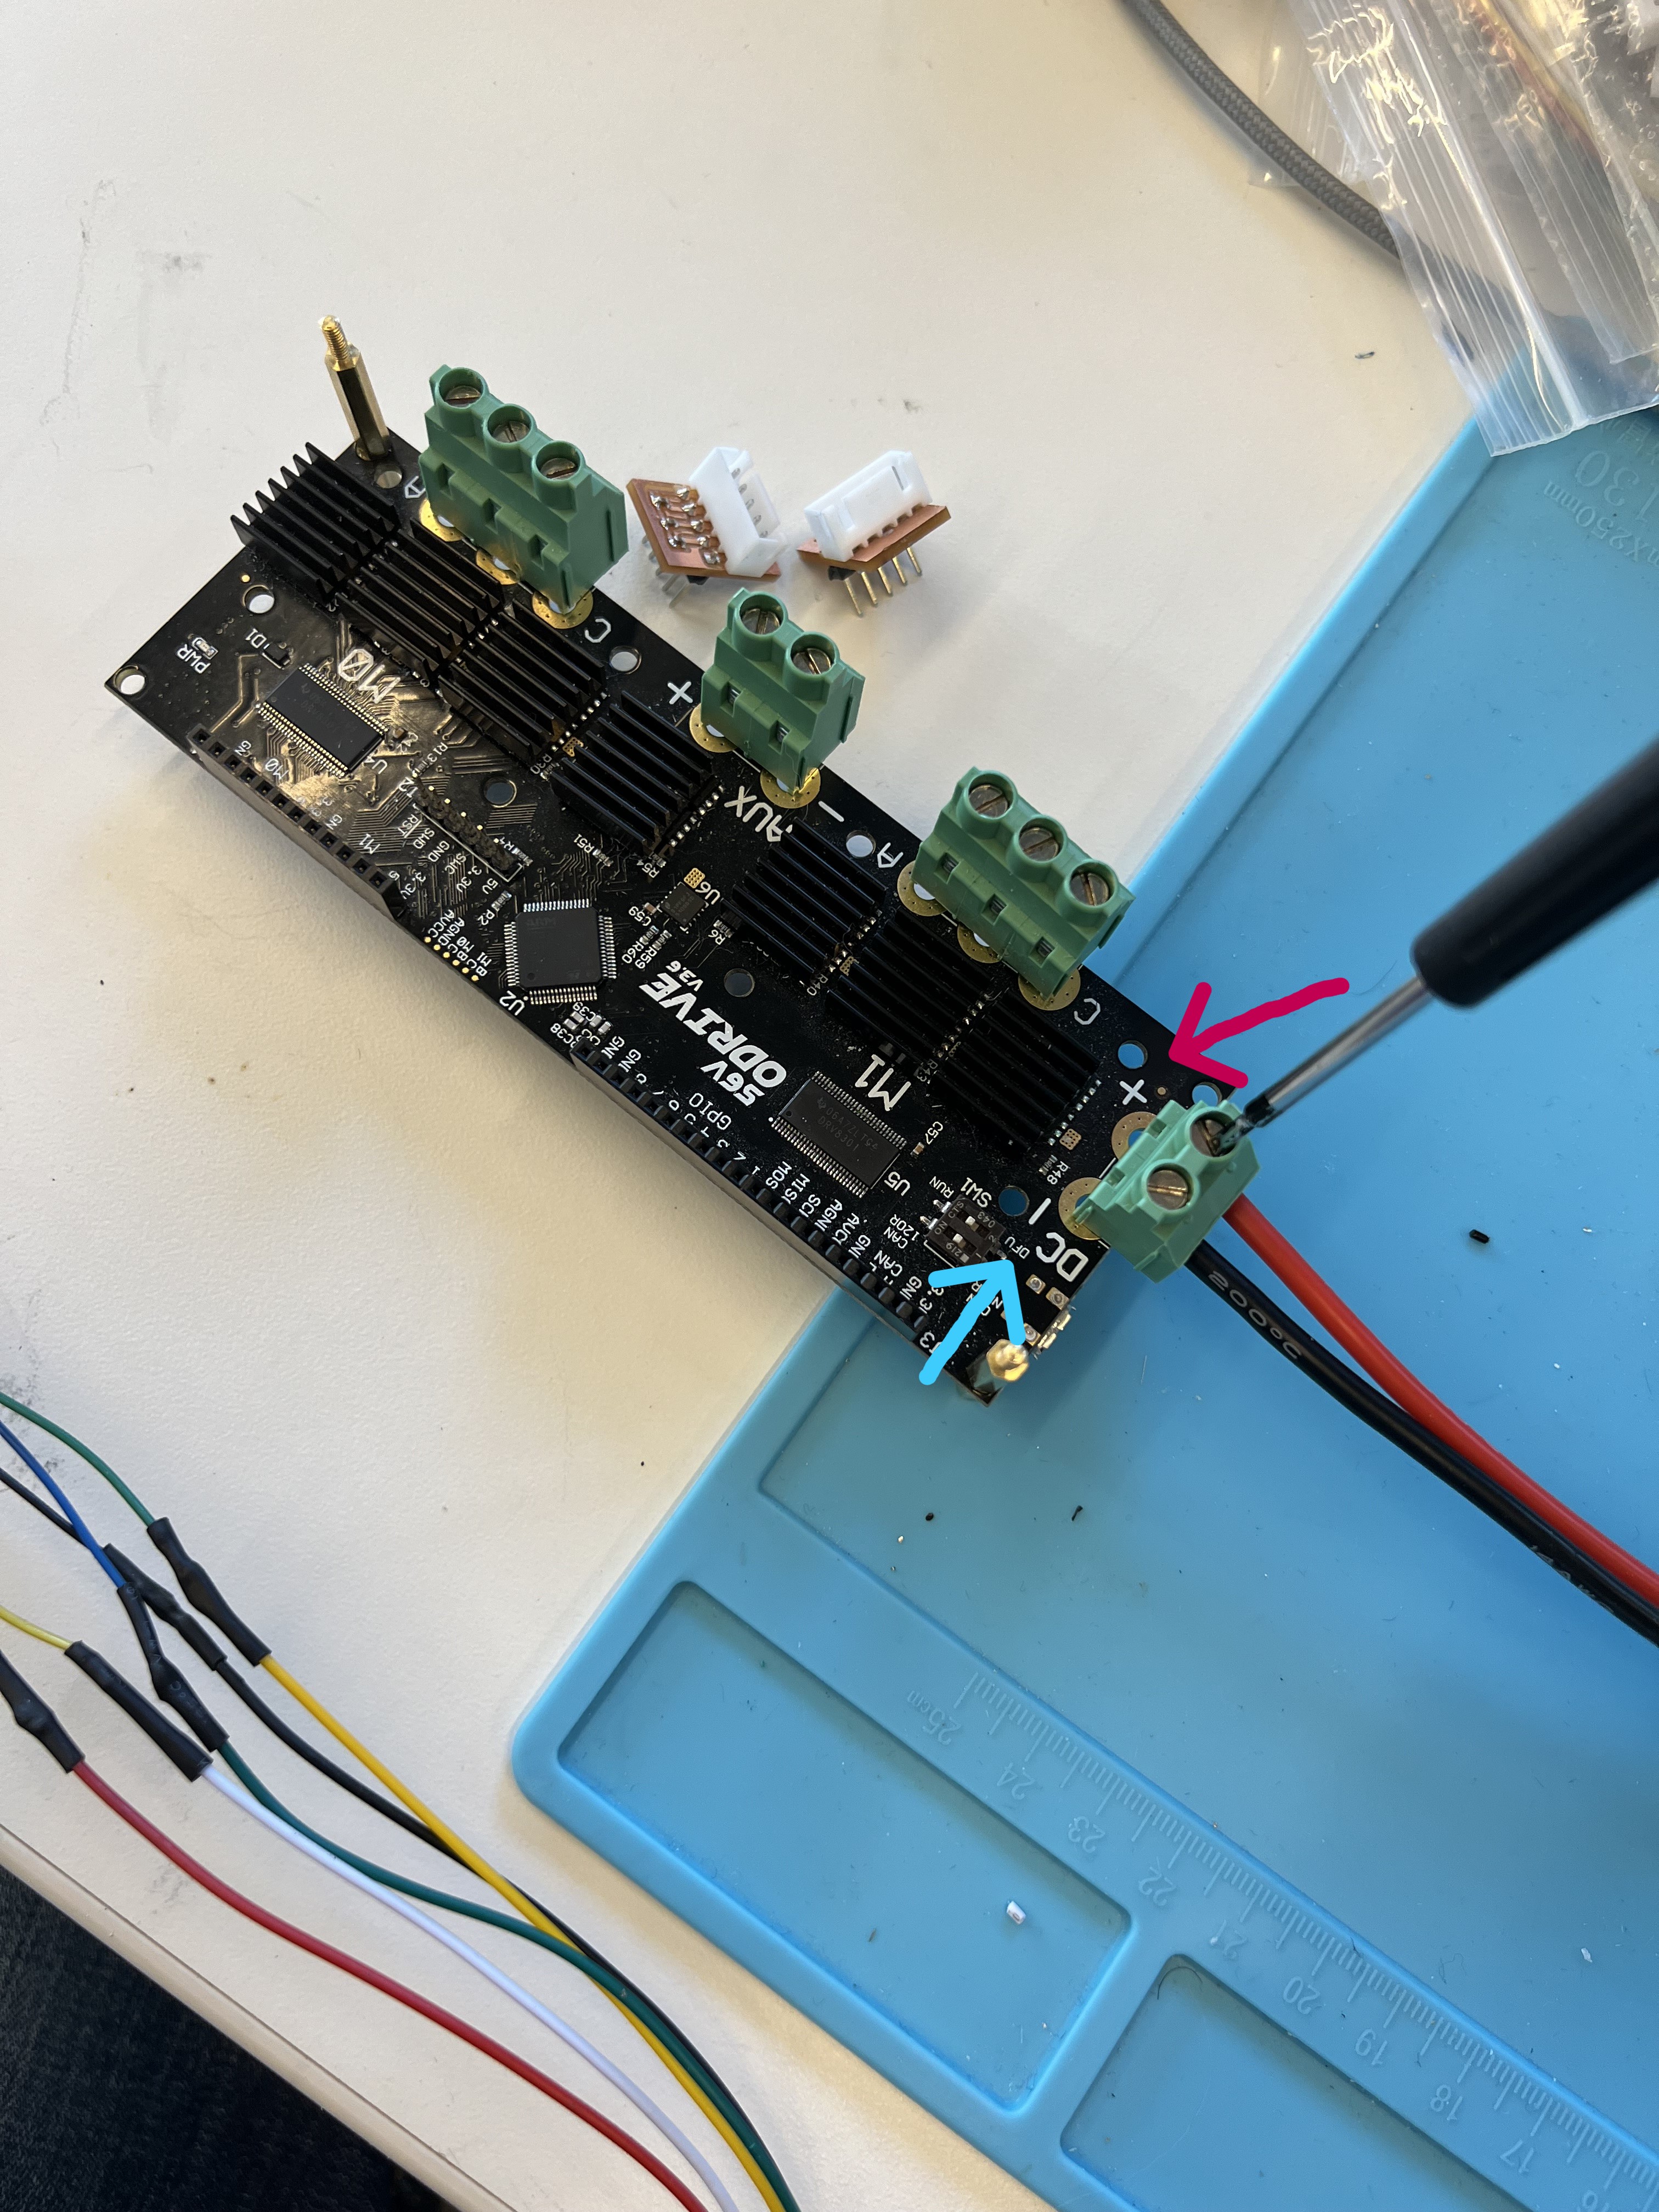
Step 5: Plug In Power
Connect the hoverboard battery. The ODrive power LED should light up.